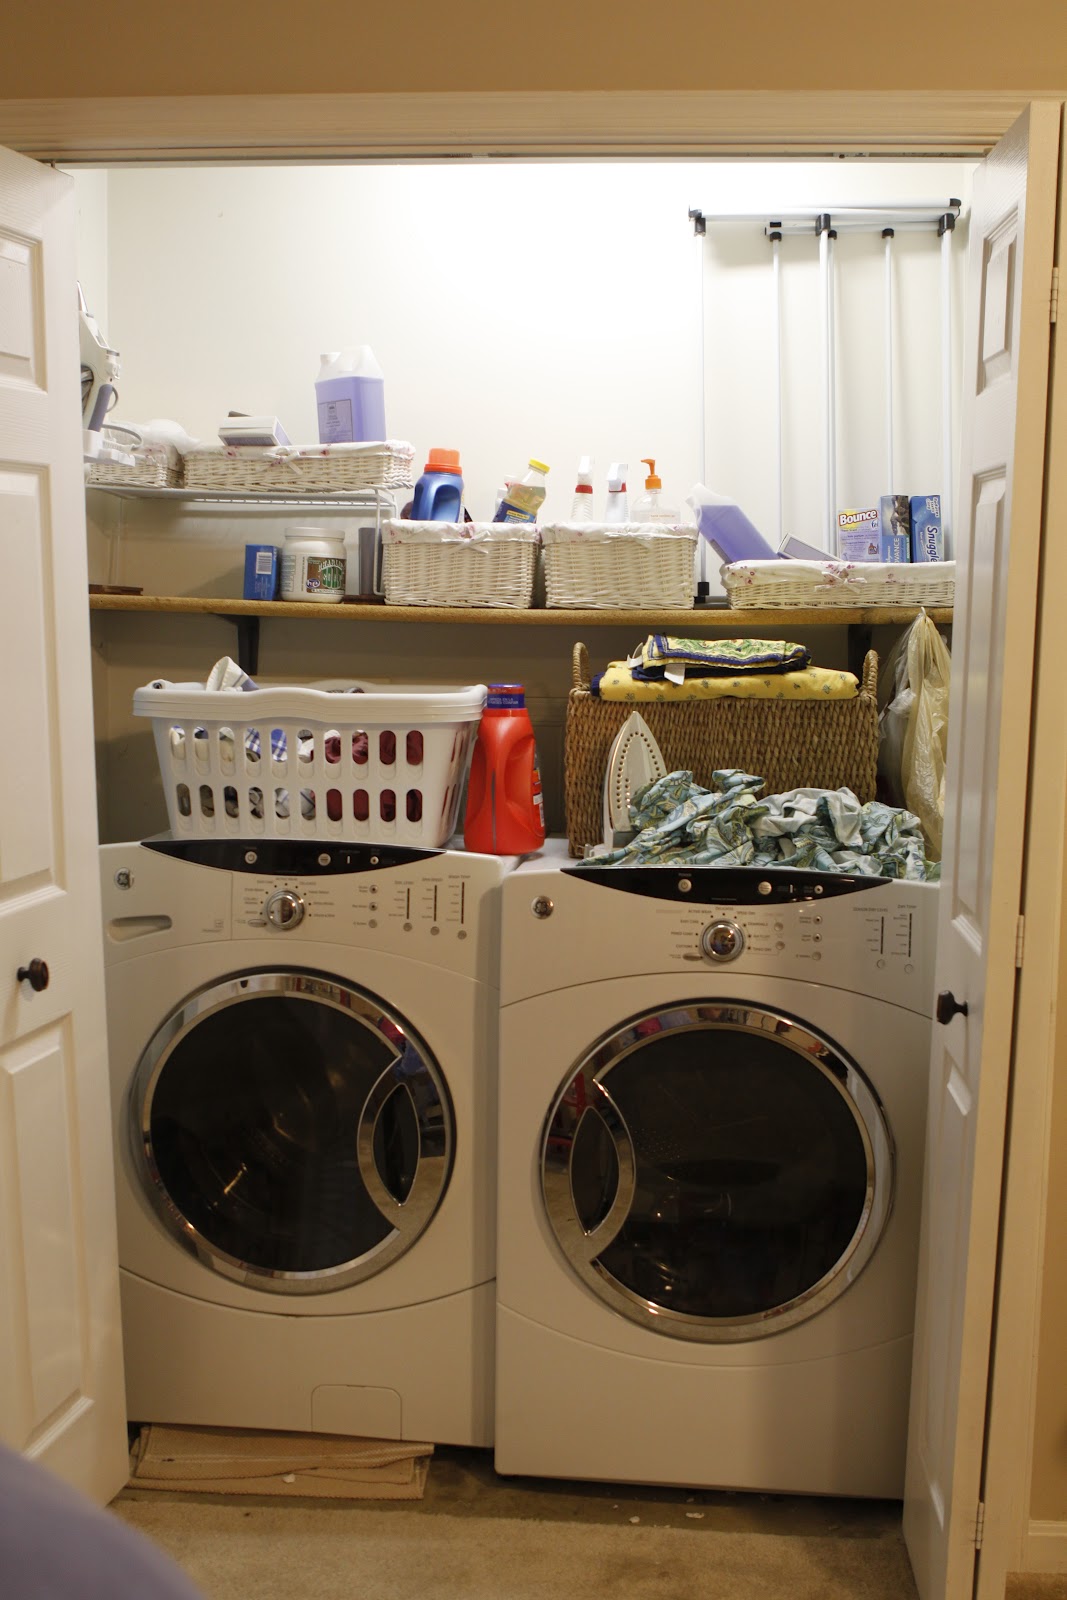
Let me back up. Remember allll the way back in September when I was blathering about my laundry closet? And then how the project was 86'd mere days later by Mark's reticence to invest money in a laundry room? Well! It only took five months, but we finally got cracking on the project! I know, so exciting, right? Being the super exciting couple that we are, we spent a rockin' Saturday night traipsing to a special hardware store in search of a dolly to move the washer and dryer, as well as racing through all nine circles of hell (aka "Ikea") for the cabinets and countertop. We loaded up the car and headed home to get to work. Pretty soon, the room went from this:

The next hurdle was the floor. Our house is only about 15 years old, but it's a typical Northern VA townhouse -- thrown up overnight, with no attention to detail or craft. Given that this was just a laundry closet, it seems to have borne the brunt of shoddy construction. The walls wave like the ocean in a hurricane and cement floor had such ridiculous peaks and valleys that the washer and dryer couldn't even sit side by side at the same height without being totally off-balance. There was no way we could apply tiles of any kind over it, so step #1 was to apply a self-leveling cement.


Once the support wall was built, it was my turn to get to work, seeing as I am the resident painter in the family. I went with the same taupey beige that we have in the rest of the house (Sherwin Williams Basket Beige color matched to Duron), mostly because it is on every level of our house and I was in need of touch up paint. (While the laundry room was drying, I ran around the house touching up little blotches here and there. I had NO IDEA we were so tough on our walls, but apparently we are. Two and a half years, two and a half million little dings and scrapes.)

Finally, the moment I had been imagining for months was upon us -- it was time to hang the cabinets. Believe me, you cannot imagine the giddiness in this house over crappy Ikea laminate cabinets, but finally! The laundry room! It was going to be pretty! What? Is my dork showing? Anyway, Ikea cabinets use a track system for installation. Basically, if you get this one metal strip installed and leveled, then your cabinets should follow suit, as they are suspended from the metal strip. See?


Finally, it was time to hit the decks. We had originally wanted to use actual ceramic tiles in here, just to get some more use out of the tile saw we purchased when we renovated our wee little powder room. However, after the addition of self-leveling cement, we weren't sure about the extra clearance required for ceramic tiles, since the height of the cabinets was limited both by our light fixture and by my short legs. Plus, hello, it's a laundry closet, and only about an inch of the floor will even be visible anyway. For all of these reasons, we decided to go with peel 'n' stick vinyl tiles, though we attempted to class the joint up by actually grouting them. The process was insanely easy and Mark was able to complete it during Super Bowl commercial breaks, punctuated with moments of mourning for his beloved Pats, who were unable to get out of their own way.
We knew from HGTV that the tiles were supposed to be easy to install, but until you try it yourself, who knows, right? For once, this was exactly as easy as promised. It was simple -- just measure, score the tile with a razor, snap off the excess, peel off the backing, and stick it down. We used little tile separators to keep the spacing even, and once all of the tiles were down, applied a contrasting grout.

 |
| Apparently I dropped the ball on photos by the time we got to this point? This seems to be all I have. Don't mind my husband's ass, y'all. |
- We hauled the 8' of butcher block home on what felt like the coldest day we have had so far this year, and trust me, I felt it for the entire 35 miles we drove with the tailgate open to accommodate the counter.
- Upon hauling the countertop outside to trim it down to size, we discovered that the saw blade we had was burning the wood rather than cutting it -- not good -- so off to Home Depot we went.
- We returned home with the correct blade, and miracle of miracles, it worked! We trimmed a couple of strips to act as brackets for the counter, then measured for the counter itself. By this point, the counter had been in the cold, between the car and the back deck, for about 5 hours or so. It did not occur to us that this might be detrimental to the counter, but apparently the glue holding butcher block together? IT CAN FREEZE. We discovered this when the last trim ended by splitting out a chunk and causing the outermost strip to separate a little. Awesome, no?

- BUT WAIT, IT GETS BETTER. We hauled the trimmed (and newly disfigured) countertop back into the house, which was when we realized that, because of the doorway, we were not going to be able to get the counter into the laundry closet without removing the cabinets. (You can probably imagine the delightful mood I was in by this point, and perhaps understand how I might have jumped head first into a bottle of sparkling wine, no?)
- We finally got the counter in and one support bracket in place. We just had to attach the other support bracket to the studs, and then we would be good to go. Foreboding, much? YEAH. ABOUT THAT. Rather than using a stud finder (when I suggested that he do so, Mark responded with the requisite, "I got your stud RIGHT HERE"), Mark guessed at where the stud would be based upon the light switch and just started drilling pilot holes. As we were seemingly in the home stretch, I was on the phone with my sister, when suddenly I saw a freaking GEYSER shoot across the room. We were both screaming, "OH SHIT! OH SHIT!" and Mark was yelling at me to turn off the water, and I was yelling at him that I did not know where the water valve was, so I tried took over the band-aid/gunshot role while Mark shut off the water, then we tried to direct the remaining water into a bucket instead of all over the new floor. Turns out that his last little test hole went directly through the copper water pipe servicing the master bath. That? Was AWESOME.


Now we're back to, well, I don't even know what square to call it. Sub-square one? We need to repair the drywall (oh loooord -- Mark is so crazy handy, which is awesome, but he sucks at mudding; this may become my job), repaint, repair the counter, and install the damn counter bracket, and THEN. Then I shall have the prettiest laundry closet in all the neighborhood. I dream big, people.
1 comments:
have you done it?? can't wait to see... what a NIGHTMARE but so cool that Mark is so good with the handy stuff. That project would have cost me at least GBP 1000... that's 1500 US... husband is now home and asleep and hating me for still being on computer so... I'm outtie. Can't wait to see the finished product! mwah!
Post a Comment